
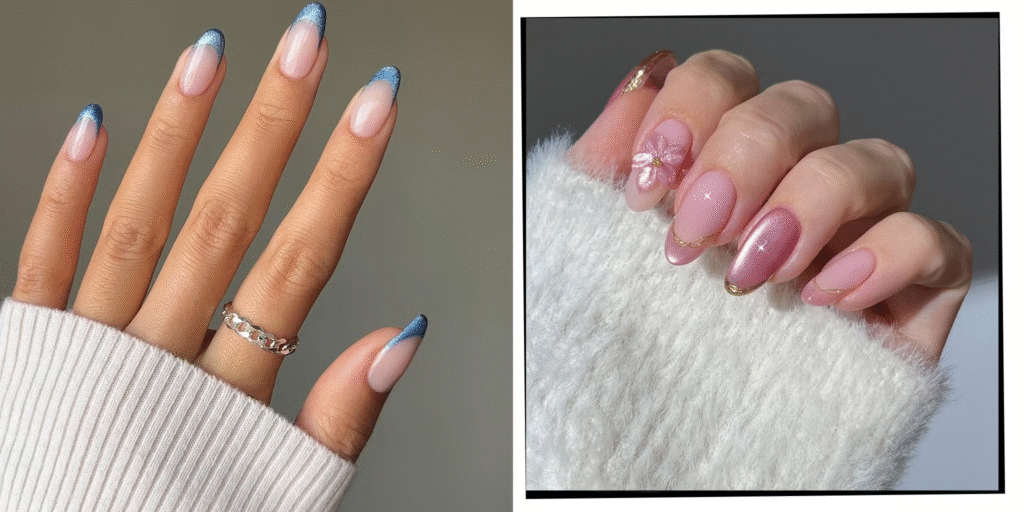
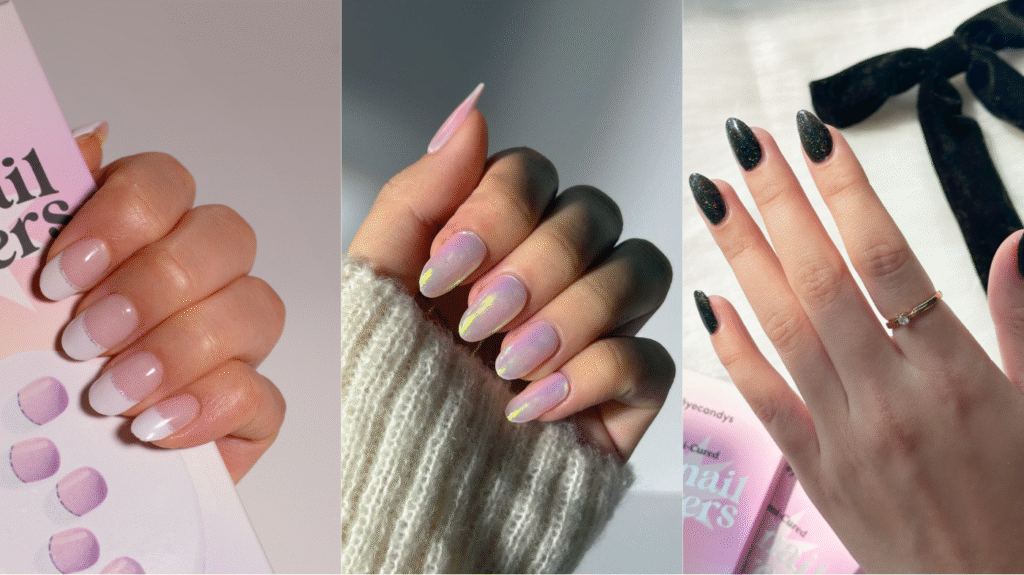
There is an enduring charm to a classic French manicure that keeps it anchored at the top of nail trends decade after decade. The crisp, clean white tips, the milky nude base, and the universally flattering shape create a polished, effortless look that feels appropriate anywhere—from a Monday morning team meeting to a Saturday night wedding. Yet, as nail technology and artistic techniques evolve, even the most legendary classics get a modern refresh. Enter the cat-eye French manicure.
This trend fuses the architectural elegance of traditional French tips with the hypnotic, light-refracting dimension of magnetic velvet or “cat-eye” polish. At first glance, the nails look neatly tailored and sophisticated. But as your hands move under natural sunlight or direct indoor lighting, microscopic metallic particles suspended in the polish react, catching the light and creating a glowing, velvet-like ribbon that shifts seamlessly across your nails.
It strikes a balance between hyper-minimalism and high-impact art. The best part? Recreating this multi-dimensional look doesn’t require years of professional nail school experience. With a solid understanding of how magnetic forces act on gel polish, a few simple tools, and a bit of patience, you can master the cat-eye French manicure right at your kitchen table.
What Is a Cat-Eye French Manicure?
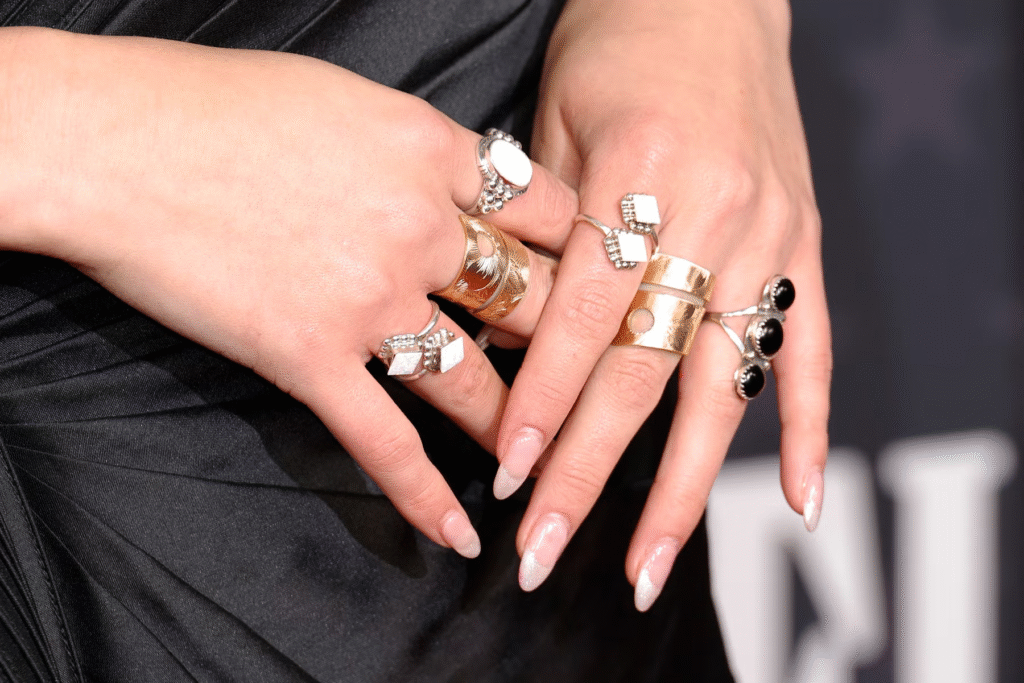
The cat-eye French manicure represents a blend of two distinct nail art movements.
The structural foundation comes from the classic French layout: a clean, skin-tone-flattering base paired with a deliberate accentuating line that traces the free edge (tip) of the nail. The visual magic, however, comes from magnetic gel polish.
Cat-eye polishes are infused with ultra-fine, iron-powder filaments. When you apply the polish, these metallic specks float randomly within the liquid gel medium. Before curing the layer under a UV or LED lamp, you hover a high-strength neodymium magnet close to the uncured surface. The magnetic field pulls, pushes, and aligns the metallic specks into concentrated ribbons, crescent halos, or velvety, dimensional waves.
When adapted to a French tip framework, this effect can be used in two different ways:
- The Velvet Base: Applied beneath a classic solid French tip to give the natural nail bed a glowing, ethereal cushion.
- The Magnetic Tip: Applied directly to the smile line of the tip itself, turning the traditional solid white crescent into a shifting, metallic line of light.
Why the Trend Is Dominating Modern Nail Art
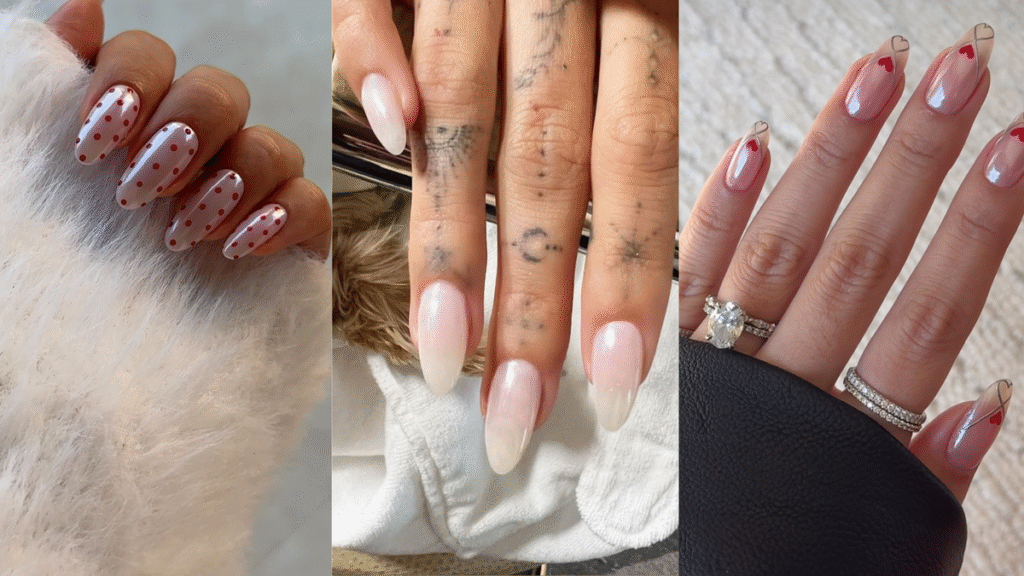
Nail aesthetics have shifted dramatically away from flat, single-tone colors in favor of textural depth and dynamic movement—driven largely by modern “chrome,” “glazed doughnut,” and “velvet” finishes. The cat-eye French manicure hits a sweet spot for several distinct reasons:
- Versatile Dimensionality: Unlike flat glitter, which can sometimes feel abrasive or overly casual, magnetic cat-eye polish offers a smooth, silk-like sheen. It feels reserved in ambient light, but transforms into an eye-catching accent under spotlighting.
- Architectural Flexibility: It complements every nail length and free-edge shape. Whether you wear short, square, active nails or tapered almond and coffin extensions, the magnetic line can be customized to accentuate your specific nail plate geometry.
- Subtle Luxury: It leans heavily into the “quiet luxury” aesthetic. By using neutral, champagne, silver, or soft mauve metallic tones, the manicure looks tailored, clean, and expensive without relying on bulky rhinestones or loud graphics.
Essential Toolkit: What You Need
To pull off a long-lasting, salon-quality cat-eye French manicure at home, having the right chemistry and tools ready before you begin is essential.
Step-by-Step Walkthrough to Recreate the Look at Home
Step 1: Prep the Canvas for Maximum Longevity
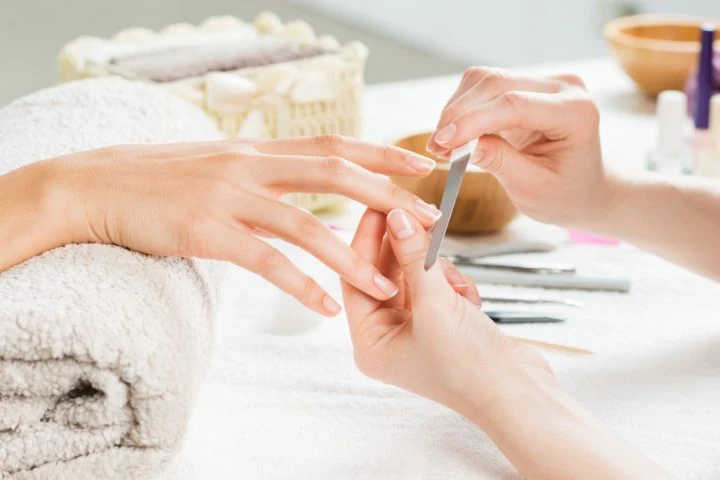
A cat-eye manicure relies on light reflection; any bumps, ridges, or ragged cuticles will distort the smooth reflection of the magnetic wave.
Your nail technician will generally start with a gel or BIAB base color, and layer a cat-eye gel polish on the tips. “Using a magnet, such as our Dual-Ended Magnet Tool, the pigment is then gently pulled and shaped to create that signature reflective curve across the tip, giving the illusion of movement and depth,” explains Kalnina. The desired effect is then sealed with a high-shine top coat.
- Gently push back the cuticles using a wooden stick or stainless steel pusher after applying a cuticle remover. Clear away any dead tissue (pterygium) adhering to the nail plate.
- File and shape the free edges. Ensure all ten nails share a consistent shape profile (e.g., soft square, oval, or almond).
- Lightly buff the surface of the nail plate with a fine 180/240-grit buffer block to remove shine.
- Dehydrate and clean: Wipe down each nail with a lint-free wipe soaked in 90%+ isopropyl alcohol or dedicated nail cleanser. Apply an acid-free primer to prevent lifting along the sidewalls and cuticle area.
Step 2: Foundation and Sheer Color
- Apply a paper-thin layer of base gel coat, capping the free edge. Cure under your LED lamp for 30 to 60 seconds (follow your brand’s specific guidelines).
- Brush on one to two thin layers of your choice of sheer base gel (a soft sheer pink, milky beige, or translucent peach). This unifies the color of your natural nail bed while maintaining a clean look. Cure each layer thoroughly.
                         [ LAYER ARCHITECTURE ]
                                   │
      ┌────────────────────────────┴────────────────────────────┐
      ▼                                                         ▼
[ STYLE A: MAGNETIC TIP ]                   [ STYLE B: VELVET BED ]
 Top Coat                                    Top Coat
 French Tip (Cat-Eye Gel + Magnet)           French Tip (Solid White/Color Line)
 Sheer Base Coat                             Cat-Eye Gel + Magnet (Across Full Bed)
 Foundation Base Gel                         Foundation Base Gel
Step 3: Manipulating the Magnetic Particles (Style A: Magnetic Tip Focus)
Working nail by nail is critical during the magnetic phase. If you attempt to paint all five fingers before applying the magnet, the particles will drift and lose their crisp structure before hitting the lamp.
- Dip your fine detail liner brush into the cat-eye gel polish. Carefully outline your French tip smile line across the free edge of one nail. Fill in the tip smoothly.
- Bring in the magnet: Hold your magnetic wand roughly 2 to 3 millimeters away from the wet polish. Do not let the magnet physically touch the uncured gel.
- For a crisp diagonal streak: Position the rectangular magnet diagonally across the corner of your tip for 5–10 seconds.
- For a French crescent glow: Hold a round magnet directly below the smile line curve to push the metallic particles toward the outer edge of the tip.
- Lock it in immediately: As soon as the magnetic line pulls into sharp focus, place that single finger under the LED lamp for a 5-second “flash cure” to freeze the particles in place.
- Repeat this process across all ten nails, followed by a full 60-second final cure.
Step 4: Adding Definition and Sealing
If you want even sharper contrast, take a high-pigment white or complementary color gel on a fine liner brush and trace a razor-thin border along the lower curve of your magnetic French tip.
Finally, float a generous coat of non-wipe high-gloss gel top coat over the entire nail. The top coat acts as a glass lens—it amplifies the optical depth of the magnetic particles beneath it, making the cat-eye shimmer look suspended in three-dimensional space. Cure for 60 full seconds, and finish by massaging a nourishing cuticle oil into the surrounding skin.
Creative Color Palettes & Visual Modifications
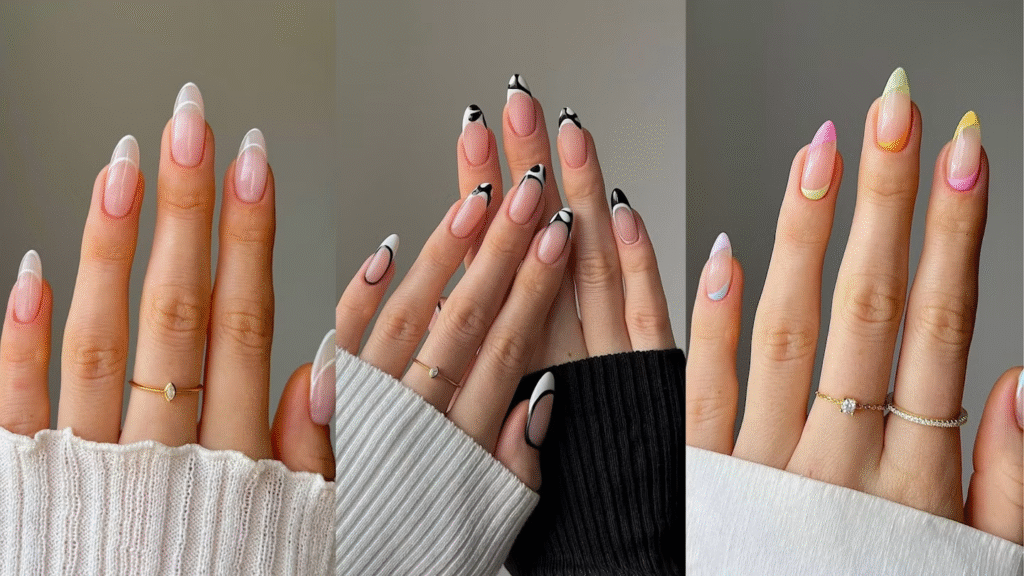
While the standard white-and-nude arrangement remains popular, tweaking your color choices can give the cat-eye French manicure a totally unique personality.
┌─────────────────────────────────────────────────────────────────────────────┐
│                           COLOR COMBO INSPIRATIONS                          │
├───────────────────┬───────────────────────────┬─────────────────────────────┤
│ STYLE VARIATION   │ BASE SHADE                │ CAT-EYE TIP SELECTION       │
├───────────────────┼───────────────────────────┼─────────────────────────────┤
│ Champagne Velvet  │ Warm Pink-Nude            │ Fine gold/champagne shimmer │
│ Midnight Luxe     │ Sheer Charcoal/Black      │ Emerald green or sapphire   │
│ Rose Gold Romance │ Milky Translucent Pink    │ Rose gold or copper magnet  │
│ Galactic Chrome   │ Cool Grey-Nude            │ Silver/holographic magnetic │
│ Chocolate Mocha   │ Creamy Caramel            │ Deep bronze/rich cocoa      │
└───────────────────┴───────────────────────────┴─────────────────────────────┘
- Micro Cat-Eye French: Ideal for shorter nails. Instead of a thick band, paint a pencil-thin line along the very edge of the tip, pulling the magnet straight upward to create a subtle glow along the edge.
- Double Smile Line: Paint a classic solid white French tip, then use a line-brush to draw a second, separate thin stripe of cat-eye gel parallel to the first line just above it on the nail bed.
- Dark-Mode Reverse: Use a solid black base with an intense, bright silver or icy blue cat-eye tip. The high-contrast dark base makes the magnetic sheen look like glowing neon.
Troubleshooting Common Application Mistakes
If your first attempt at home doesn’t look like a viral photo, small adjustments in your technique can fix the issue.
┌─────────────────────────────────────────────────────────────────────────────┐
│                     TROUBLESHOOTING & TECHNIQUE FIXES                       │
├───────────────────┬───────────────────────────┬─────────────────────────────┤
│ ISSUE             │ ROOT CAUSE                │ EASY FIX                    │
├───────────────────┼───────────────────────────┼─────────────────────────────┤
│ Blurry, Dull      │ Magnet was held too far   │ Keep magnet within 2-3mm of │
│ Shimmer           │ away or held for too short│ wet gel; hold steady for 10 │
│                   │ a duration.               │ full seconds.               │
├───────────────────┼───────────────────────────┼─────────────────────────────┤
│ Particles Drifted │ Polish sat too long before│ Flash-cure each nail under a│
│ Back into Haze    │ being cured under lamp.   │ UV lamp immediately after   │
│                   │                           │ positioning the magnet.     │
├───────────────────┼───────────────────────────┼─────────────────────────────┤
│ Wavy, Unsteady    │ Brushing French tip with  │ Use a long liner brush (11mm│
│ Smile Line        │ a wide bottle brush.      │ rather than short bottle    │
│                   │                           │ brushes for precise curves. │
├───────────────────┼───────────────────────────┼─────────────────────────────┤
│ Lumpy Surface or  │ Magnetic gel applied in a │ Apply thin layers; use the  │
│ Incomplete Cure   │ single thick coat.        │ magnet on two thin coats    │
│                   │                           │ instead of one heavy one.   │
└───────────────────┴───────────────────────────┴─────────────────────────────┘
Pro-Tips to Keep Your Manicure Looking Fresh
To maximize wear time and keep your magnetic tips looking like you just stepped out of a high-end studio:
- Cap the Free Edge: Always run your base coat, color coats, and top coat along the front edge of the nail tip. Sealing this edge prevents water from creeping under the gel and lifting it away from your natural nail.
- Wear Protection During Housework: Detergents, household cleaners, and prolonged exposure to hot bathwater weaken gel bonds over time. Wearing rubber gloves when washing dishes or handling chemicals keeps your top coat glass-shiny and chip-free.
- Daily Hydration Routine: Apply cuticle oil every night before sleep. Hydrated natural nails remain flexible, which prevents the hard gel coating above them from snapping or micro-fracturing under daily stress.
- Never Peel Off Lifting Gel: If a tip starts lifting, resist the urge to peel it off. Peeling pulls away the top protective layers of your natural nail keratin, leaving thin, sensitive spots that make future gel applications wear down faster. Gently file down the lifted ridge and soak off properly using pure acetone.
With a good magnetic wand and a fine liner brush, the cat-eye French manicure opens up endless possibilities for custom nail art. It offers a stylish upgrade to a timeless staple—giving you a classic, polished look that catches the light in an unexpected way.